How to avoid sending crypto to the wrong network
A practical checklist for matching coin, network, wallet address, and memo before sending crypto.
Sending crypto to the wrong network is one of the most common transfer mistakes. It happens because the same coin name can appear on several blockchains, and wallets do not always explain the difference clearly.
The safest habit is simple: start from the wallet where you want to receive funds, then match those details in the swap or sending service.
Why this mistake happens
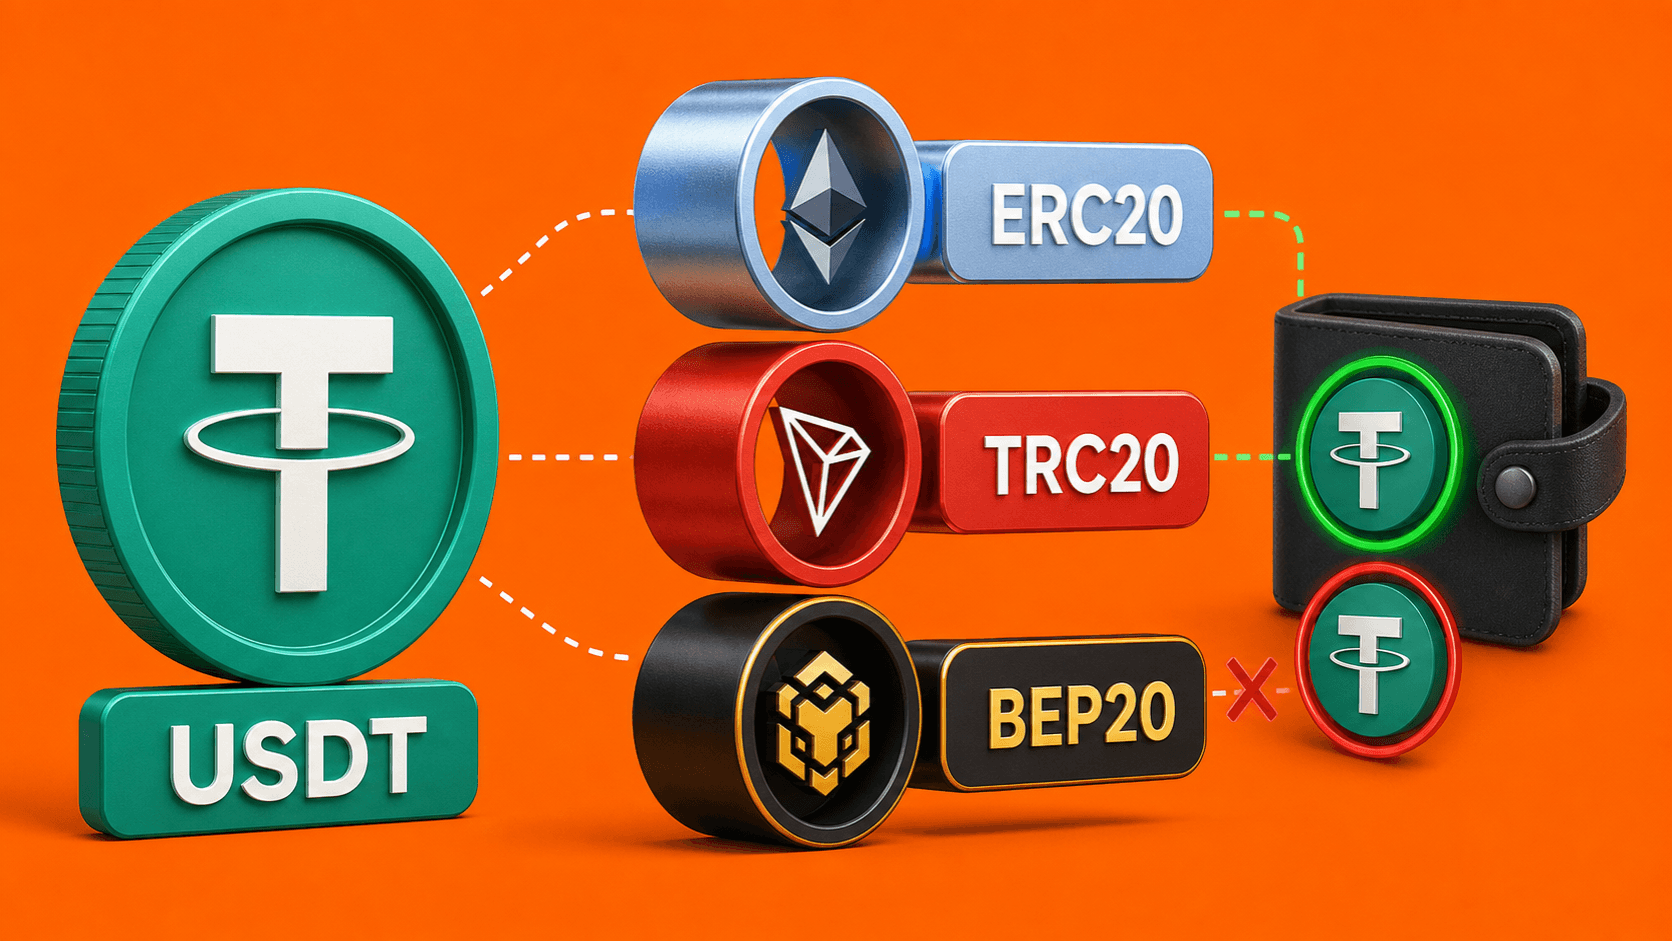
Many assets can exist on more than one network. USDT is the easiest example: Tether documents its supported protocols across Tron, Ethereum, and other networks.
If the receiving wallet expects USDT on Tron, but you send USDT on Ethereum, the transfer may not appear where you expected. The coin name was the same, but the network was different.
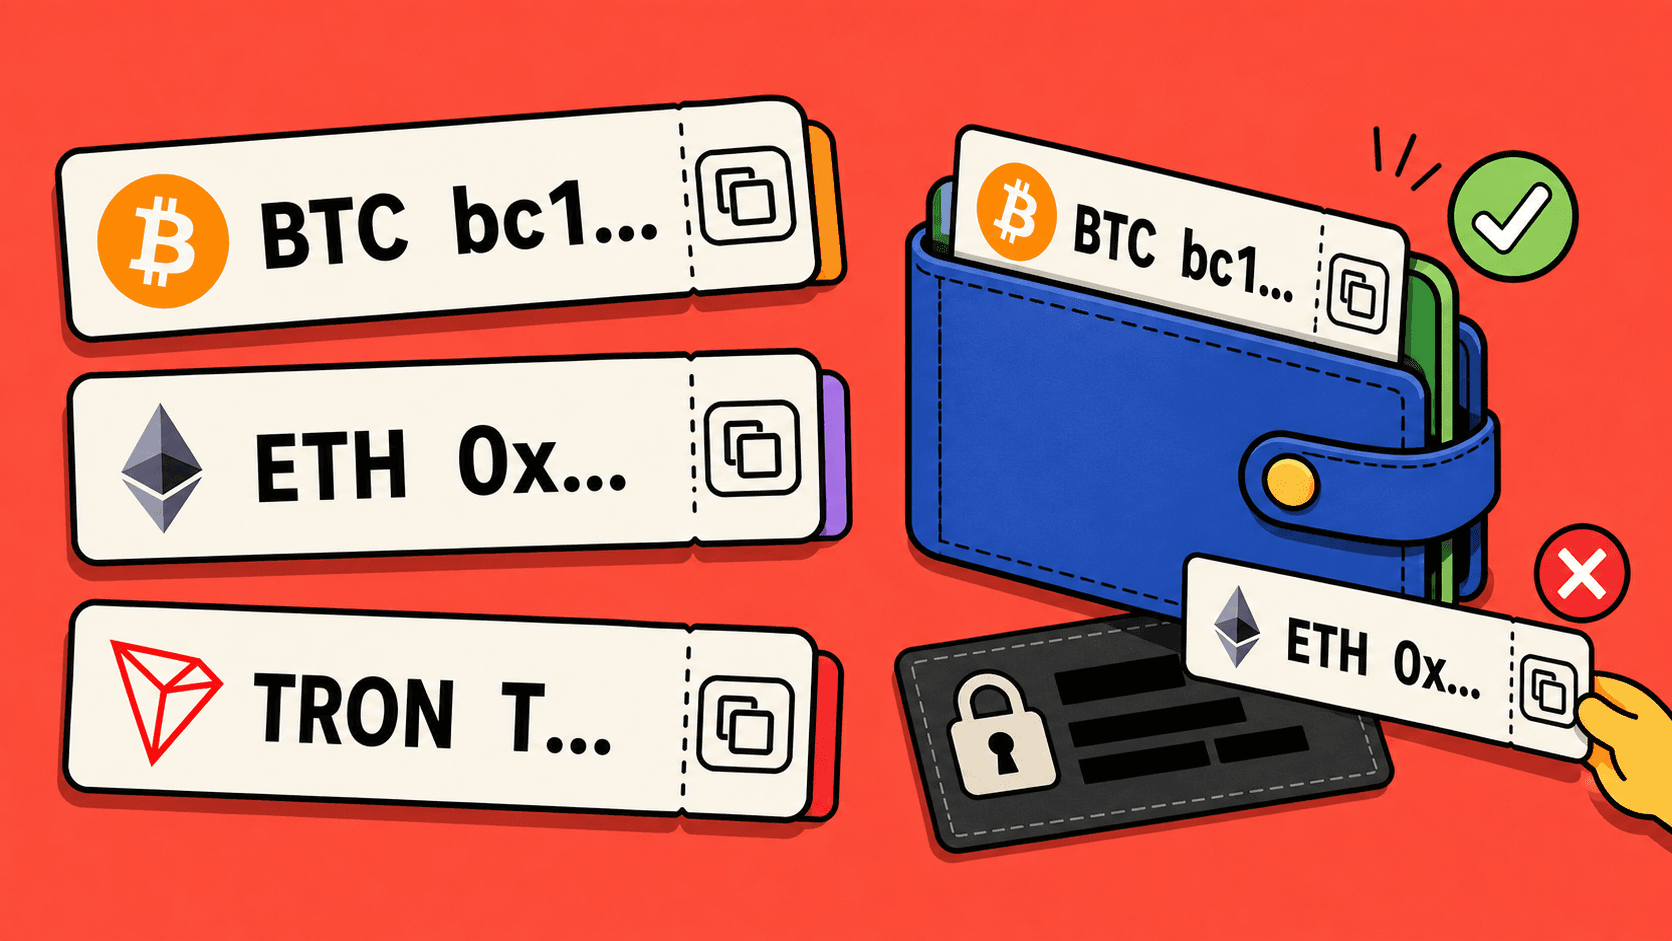
Start from the receiving wallet
Before you send anything, open the wallet or platform where you want the funds to arrive.
Use this order:
- Choose Receive.
- Select the asset you want, such as USDT or ETH.
- Select the network if the wallet asks for one.
- Copy the wallet address shown for that exact asset and network.
- Check whether a memo, tag, or note is required.
Then use those same details in the route or sending service.
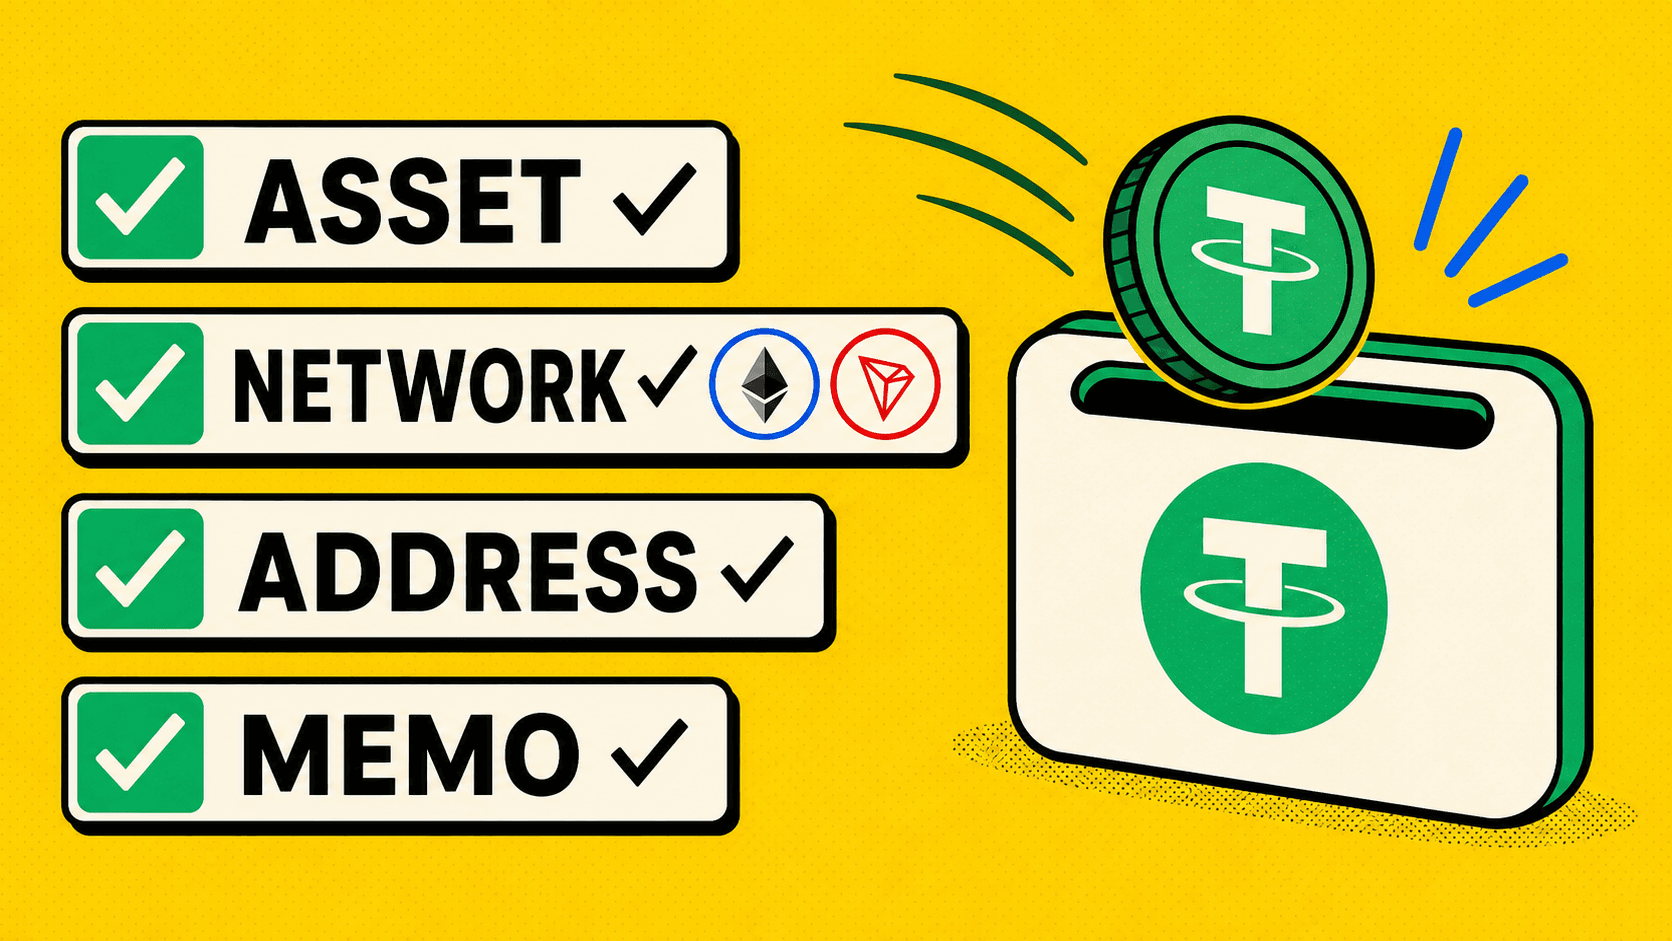
Match four things
Before sending crypto, match these four items:
Asset: BTC, ETH, USDT, or another coin.
Network: Tron, Ethereum, Binance Chain, Bitcoin, or another blockchain.
Address: the address copied from the current receive screen.
Memo or tag: required by some wallets and platforms for assets such as XRP or certain exchange deposits.
If one of these does not match, stop and check again.
Do not trust old saved addresses blindly
An old address may still work, but it may not be the right address for the current asset and network. Wallets and platforms can also change deposit instructions.
For every important transfer, open the receiving screen again and copy the current details. This is especially important when you change from one network to another.
What to do if you already sent to the wrong network
Do not send more funds to "fix" it. First, save the transaction hash and the receiving address you used.
Then contact the service that controls the receiving address. If the receiving address belongs to an exchange or wallet platform, only that platform can tell you whether recovery is possible.
If the transfer was part of a LightSwap order, contact LightSwap support with the order details and transaction hash. Support can review the route, but recovery still depends on the network, address, and destination service.
How LightSwap helps you check
LightSwap shows the route details before you continue. Use that moment to compare the receiving asset and network with your wallet.
If the route says you will receive USDT on Tron, your wallet should show a USDT Tron/TRC20 receive address. If your wallet shows Ethereum/ERC20 instead, change the route or choose the matching receive option in your wallet.
Quick checklist
- Open the receiving wallet first.
- Choose the asset and network there.
- Copy the address from the current receive screen.
- Match the same asset and network in the swap route.
- Add memo or tag if required.
- Save the transaction hash after sending.
If anything feels unclear, pause before sending. In crypto, checking before transfer is much easier than fixing a wrong-network transfer later.
Related articles
Ready to make a swap?
Choose the pair, check the route, and continue from your wallet when you are ready.
Choose assets
You send
$646.98
You receive
Rate: -
Estimated time: 1 minutes